Sep 30, 2010

Tim Holtz Products used in decorating my new room!

I know -  my room has taken me WAY too long to get it put back and ready, but when you want to organize in a functional, decorative and unique way…it’s takes some time to do it right! 

My goal with my room was to make it so I can sit down, create, and know where everything is. Because I’m a “collector” and I enjoy many different hobbies besides scrapbooking, it becomes a little hard to do this at times.  I had to find a home for all my beautiful fun “treasures.”

I have lots of Tim Holtz products (I couldn’t wait for the designer’s monthly package, so I ordered several things now I have lots to play with).I was excited to use some of his products in my room.

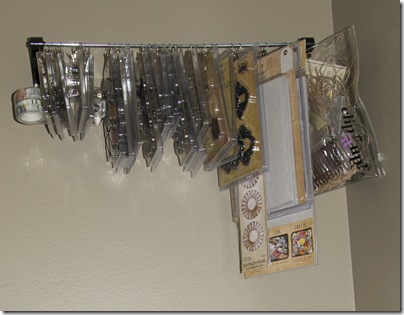
In order to clip up all the new products I have, I am using several of my Clip it Up products to help display and inspire me when I sit down to create!  You saw the Under the Shelf Rod I put the original products on from my first shipment (earlier post).  Since then I’ve added a few more to the collection.

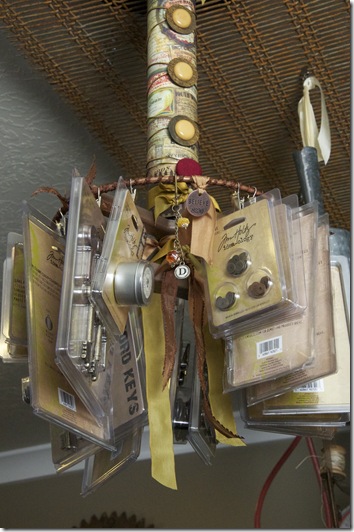
I had a cool piece of metal I wanted to use above my desk  to hang up some fun items that are symbolic or just fun to look at.  One of those items is an upside down Clip it Up Main Base

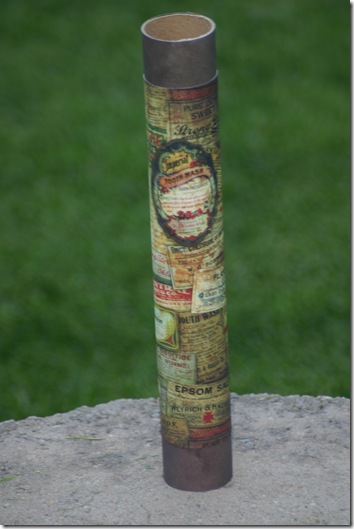
I’ve seen the different ways some of our designers and guest designers have covered up the poles and I like what they did.  So I bought a shipping tube, cut it to size and covered it with Tim Holtz paper.  Ever since I received my first box of goodies from Tim, this paper was one of my favorites and I couldn’t wait to use it in the room, and the upside  down Clip it Up was the winner!

IMG_2341

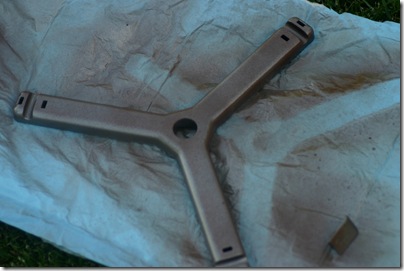
I sprayed the tri-arm and  handle with taupe metallic spray paint and let it dry.  I then took some brown spray paint and added little touches of it.  I thought the colors went well with the fun paper.

IMG_2342

IMG_2343

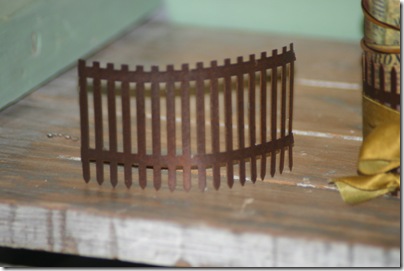
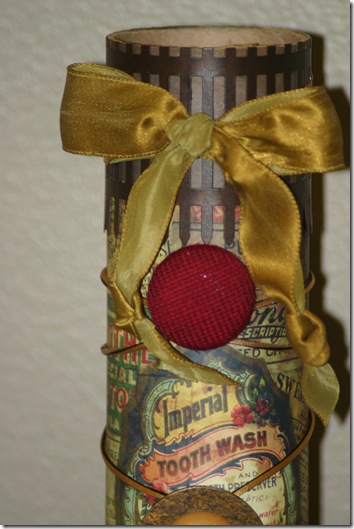
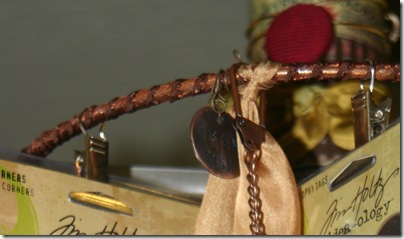
I found a rusty tin fence from Darice Rustic Accents and wrapped it around the top and along the bottom of the tube.  I then wrapped it with a gold and black cord from May Arts, and added some fun older buttons from my collection.  The red buttons were too bright so I grabbed my Frayed Burlap Distress Ink from Ranger and rubbed some on to make it just the right color. 

IMG_2360

IMG_2352

I wrapped the metal ring with some May Arts ribbon and I loved the look of it.  Yes, the clips don’t move back and forth as well, but dang-it just looks cute! 

IMG_2385

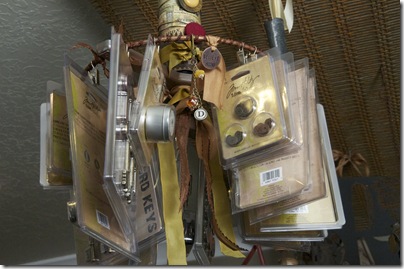
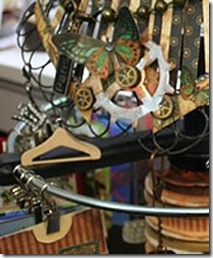
I took some beads from  an old antique necklace  and added them to Tim’s  Swivel Clasps and Type Charms.  Around the ring I hung three Philosophy Tags,  Added some antique ribbon in a  few places and hung up Tim’s products.

DSC_1815 DSC_1816

I also got around to hanging up the Wall Mount so I could hang up even more products.  Love looking at all the fun items I get to play with when I sit down to create!

DSC_1829

Another item that got some Tim touches was my old wooden file box.  Since I have so many items, and several places to store them, I made a file card for all my supplies as I put them away.  So when I can’t remember where I put those sponge brushes, etc. I open up my file box, pull out the card marked sponge brushes and know immediately where I stored them.  I added an antique knob to open it with, and I put the Idea-ology Foundation Metal Feet on the bottom to dress it up.  I love this file box and would be lost without it!

DSC_1710

I’m thinking life is pretty good with my new room and fun, cool products to make projects with…sweet!

I can’t show all of my room yet because it’s going to be in the Where Women Create Magazine, but I’ll try to work them in on later posts.

Can’t wait to show you the whole room!

Renee

Sep 29, 2010

Let’s Get Cookin’ with the Clip it Up

With my wedding coming up fast I’ve been pressured into trying to get a little more organized.  One of the things I’ve been wanting to do is to decorate a Clip it Up Mini for my kitchen and use it for recipes.  Now I really don’t have many recipes yet (if you have some good ones let me know), so my Clip it Up Mini will be a little bare but hopefully over the next few months I’ll be able to fill it up. 

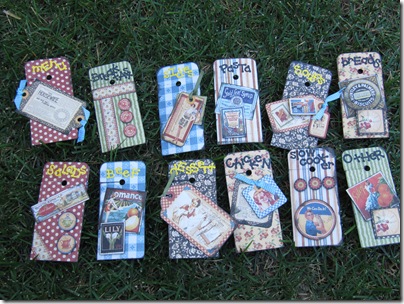
I took Aphra’s idea for decorating the tabs (Fancy Tabs) and used the Graphic 45 Domestic Goddess Line and got to work. 

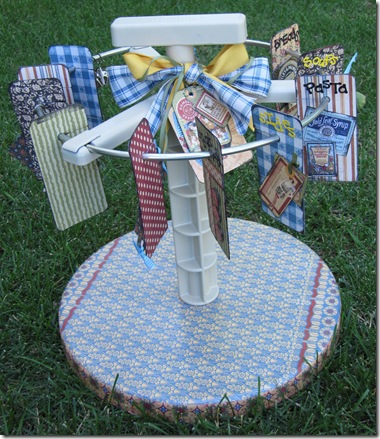
First I used Krylon spray paint and painted my Clip it Up Mini cream. Then I cut out paper in the shape of the base, and picked a coordinating border for the side. I mod podged them to the base.  (It was a little bit tricky to make the paper smooth around the rounded edge, but a little bit of patience goes a long way)

IMG_1544

Then it was the fun and easy part. Decorating the Tabs.

IMG_1550

I made the following categories

  • Menu (I’m being optimistic-hopefully this category will have the recipes that I’m planning on making that week)
  • Breakfast
  • Sides
  • Pasta
  • Soups (I’m so excited I have some good fall soups that I can’t wait to make)
  • Breads
  • Salads
  • Beef
  • Chicken
  • Slow Cooker (my favorite Sunday dinners)
  • Dessert
  • Other

As you can see the tabs aren’t fancy I just covered them with paper and put a few embellishments on them.  I think they turned out cute.

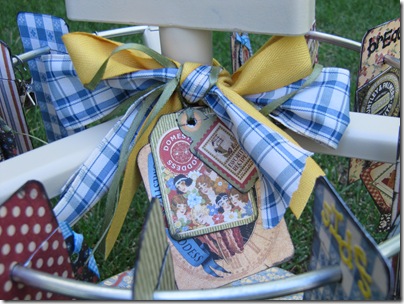
I then tied a bow around the top and added a few tags from the Domestic Goddess Line.

IMG_1547

Here’s the final product!

IMG_1548 I’m really happy with how it turned out.  Now I better get cooking so I can fill it up :-)

Wish me luck!

Bobbi

Simply Renee

Sep 27, 2010

G45 & Clip it Up Unite for a Fabulous Drawing

We love Graphic 45! We love their paper, their embellishments and most of all their fabulous designer Diane.   This week we’ve joined forces to bring you a spectacular chance to win Graphic 45 product and a Clip it Up Mini.  To enter visit Graphic 45’s blog and see how their fabulous designer, Candy, decorated a Clip it Up Main Base using their Steampunk Debutante line.

clipitup_steamie2_lores Here’s a sneak peak!!!

After you’ve marveled over “steamie” come back here and leave a comment. You must leave a comment on this post and the winner will be announced on our blog on Friday October 1 :-)

Plus check back later this week and we’ll show you how the Clip it Up Mini, Graphic 45 and the kitchen go together!

Simply Renee

Quote of the Week

Always remember that the future comes one day at a time.
Dean Acheson

Sep 21, 2010

Treasures sometimes come in small packages!

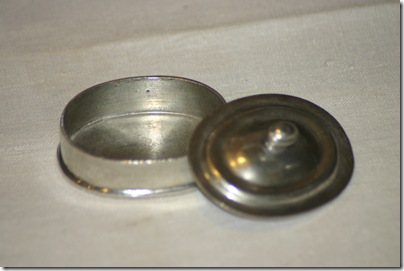
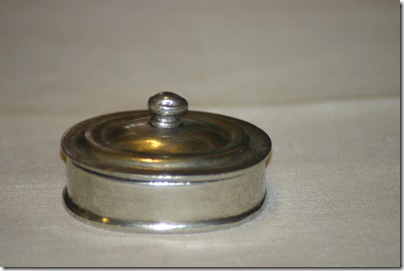
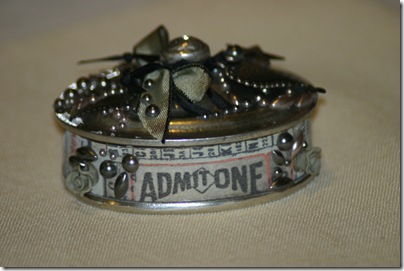
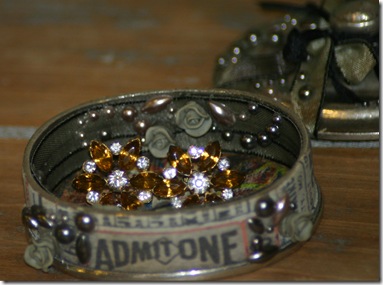
While visiting a new store the other day I found the cutest little treasure.  Sitting on the display desk was this little oval container made of real silver. It has a cute little lid and shape to it.  I don’t know if it’s for jewelry, pills, gift or whatever – it was just screaming “take me home please!!!!!”  I loved it the way it was, but I thought it would be fun to “add” a few items to it.

IMG_2323 IMG_2321

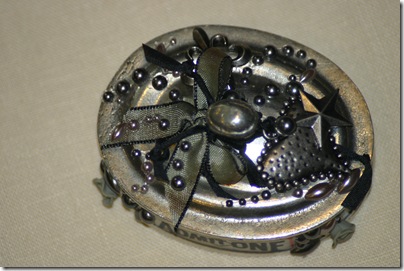
I decided to use Tim Holtz Marketplace Tissue Tape to wrap around the bottom.   When I pulled the tape out to start covering it, I saw the words “admit one” which made me think of how it would make a darling little holder for a special piece of jewelry.  After covering it with the tissue tape and inking it with Ranger Old Paper Distress Ink, I then added some Prima Say it in Pearls to the sides and on the top of the lid.

IMG_2329 

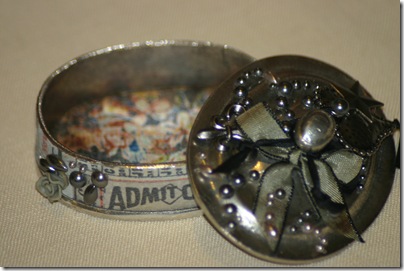
  I used two different May Arts ribbons around the little oval knob, and used the small black ribbon to attach three of  Tim’s Adornment Charms. 

IMG_2328

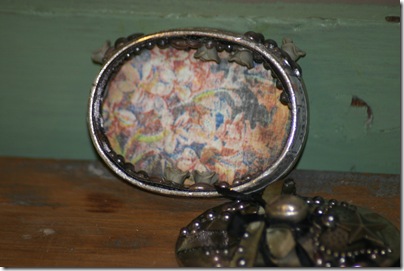
I then opened up the inside and added the same green ribbon from the bow around the edges.  I cut the shape of the container on Tim Holtz Lost and Found floral paper with Tim’s craft knife and roughed up the edges of the paper with his distressor and then inked around the edges.  I then added more of the Prima embellishments on the inside to tie into the outside look.IMG_2332

IMG_2368 

Top it off with a pair of vintage earrings and it’s ready for a great gift!

  IMG_2371 


There’s just something about small, unique metal items I tend to be drawn to... really???!!!  I’m drawn to any size unique metal object of various stages of rust, but it was fun to work with something I didn’t have to worry if I needed a tetanus shot for and it wasn’t as heavy to carry and it didn’t take up much room as most things I drag home!

Renee


Products Used:

Tim Holtz -Lost and Found Paper

Tim Holtz -Tonic Paper Distressor

Tim Holtz- Tonic Craft Knife

Tim Holtz Adornment Charms

May Arts Ribbon

Prima –Say it with Pearls

Tim Holtz -Idea-ology Marketplace Tissue Tape

Tim Holtz -Ranger Old Paper Distress Ink 

Sep 20, 2010

Quote of the Week

A true friend never gets in your way unless you happen to be going down.
Arnold H. Glasow

Sep 17, 2010

Swinging Wall Arm and its many uses!

Hi, Joan here, with my 2nd post for Clip it Up which will focus on the Swinging Wall Arm.  This is a great organizing tool with many uses!

I put mine up in my craft room to hold new scrapbook items that I buy.  I like to look at my purchases and not just put them in a drawer.  New purchases are very inspiring and should be displayed!  Clip your new goodies up to get your creative juices flowing!!

New product from a recent shopping trip!

image

There are so many items that fit nicely on the Swinging Wall Arm, such as rub-ons:

image 
stencils:

image

and even dog clothes!!

image

Here to model some of her outfits, my chihuahua, Chiquita!

image

image

image

There are many more ways to use the Swinging Wall Arm - how about in your kitchen to hold coupons, recipes and a shopping list each week?

Or in the bathroom for hair accessories?  You could make a bag of ponytails, one for hair clips, one for hair ribbons, one for bobby pins, etc.

In the office area, you could make bags for postage stamps, envelopes, thank you cards, and even clip up the weekly bills to be paid.

I love the Clip It Up Swinging Wall Arm and you will too!!!

Joan

Sep 15, 2010

Vacation Organization

image
image
The Clip it Up Mini is a great organizer for your vacations! We
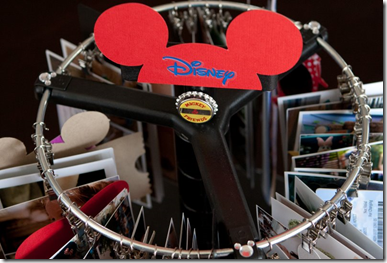
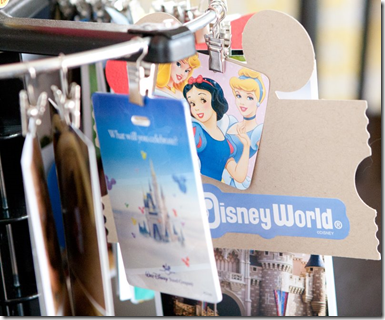
recently went to Disney World, and I wanted to have a display of our photos and mementos. The Mini works great as a display tool- it is helping me show the memories (the children love flipping though all the pictures.) It is also assisting  me in forming a game plan on how these photos will be scrapbooked in the future.
image
image
As I go though ticket stubs and other small mementos, I can clip them with the photos they will be with. I have also begun writing down many of the experiences on shaped cardstock.
image
image
It is really easy to customize the tabs that come with the Clip it Up. I used a Mickey punch on my tabs that are used to divide the photos from the different parks.
image
Valerie

Sep 13, 2010

Quote of the Week

All our dreams can come true, if we have the courage to pursue them.
Walt Disney

Sep 11, 2010

Sep 8, 2010

Never show up empty-handed.

Happy Day, Ladies!

This is Michelle back for another few months of sharing and creating with Simply Renee - and I couldn't be more tickled about that! What I'm sharing with you today stems from something I learned from my beloved Yaya (grandmother) from when I was a little girl. And it's quite simple: never show up empty-handed. Whether you're going to visit someone who is sick, stopping by to visit over tea, or you've been invited over for dinner, they are welcoming you in to their home - so you should never show up empty-handed.
So I grew up with that instilled in me. The other thing I've grown up with is about frugality. My mother was a single parent so we had to be creative sometimes as we never had money to just go out and buy a birthday present for someone. And now that I'm grown up and my husband and I have fairly good jobs and are fortunate enough to provide a nice living for our children, I'm still cheap frugal....very. Because you never know when you're going to lose your job. Or when the refrigerator is going to stop working and you'll have that additional expense.

So long story short - I still believe in never showing up empty-handed, but I do it on the cheap. What I have to share with you today are some quick and easy - and inexpensive - goodie bags that I whipped up using these fun windowed coffee bags.

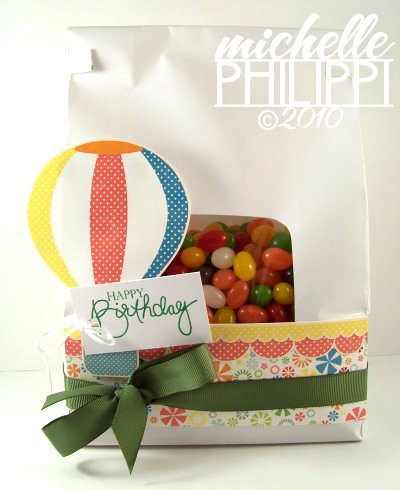
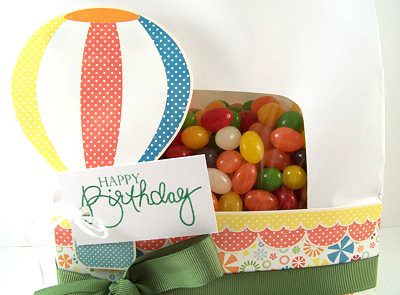
I buy jelly beans on clearance after Easter and save them for little kid treat things. They're colorful, they're bite size, and they are loaded with sugar - all the things that make kiddies happy, right? *giggles* So I embellished my white windowed coffee bag with some papers and stickers from Echo Park Paper, stamped a quick little taggie, poured in 3 bags of jelly beans (to the tune of 30-cents total), and I was done. 30-cents for the jelly beans and 59-cents for the bag = a fun, sweet, and easy gift for only 89-cents (don't tell me you don't have loads of paper and ribbon and stickers in your stash so you better not go out and buy that for this lil' project!).

WhiteCoffeeBag

WhiteCoffeeBag2
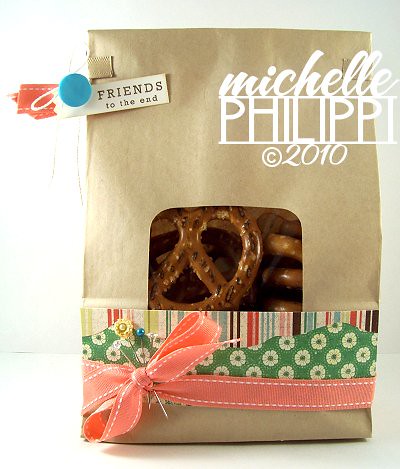
My second gift bag is for our grown-up friends. I embellished this kraft windowed coffee bag with more papers and stickers from Echo Park Paper and topped my bow with some pretty pins. I filled it up with 1/2 a bag of big pretzels that I stocked up on with coupons at 49-cents a bag. So this gift was 25-cents for my pretzels and 55-cents for my bag = 80-cents to offer something when you are greeted at the door. Isn't that fun?
KraftCoffeeBag

KraftCoffeeBag2

Heartfelt and handcrafted does not need to cost a fortune - nor does it need to take a lot of time. You just can't put a price on thoughtfulness!

Sep 7, 2010

Cabin Get-away / Creative Retreat

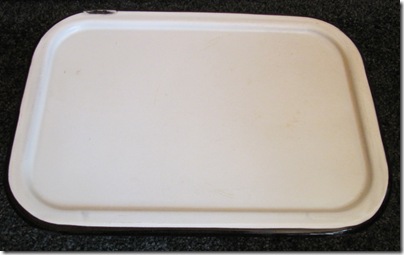
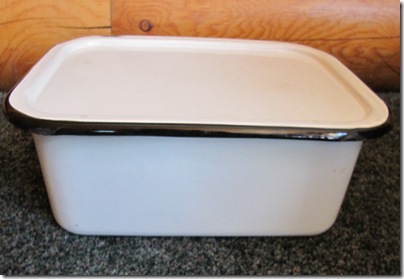
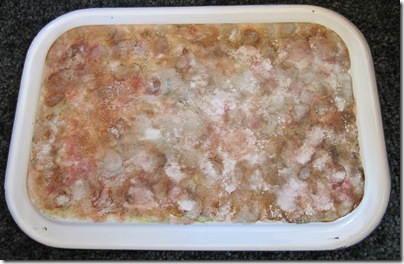
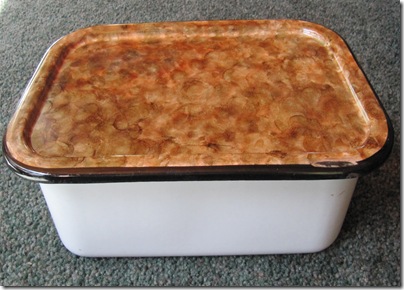
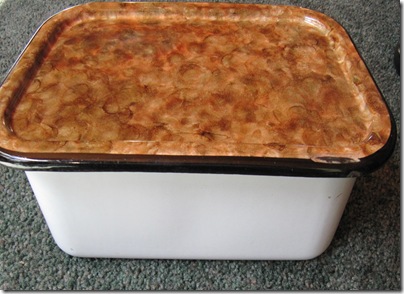
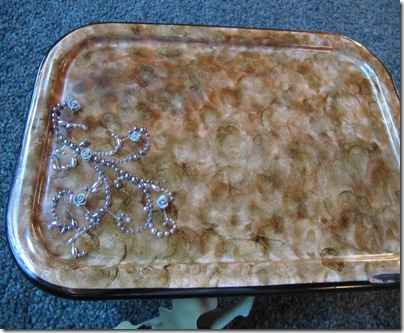
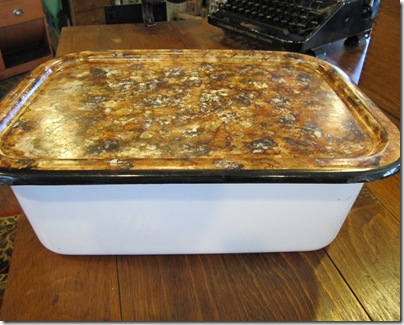
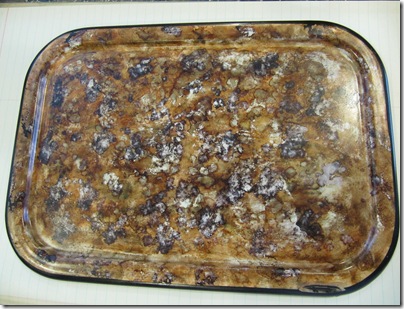
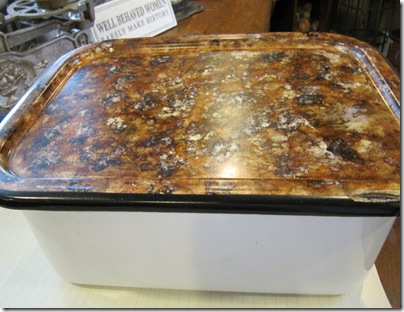
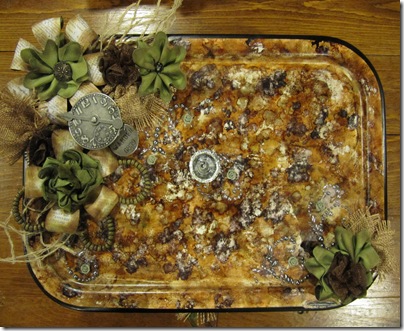
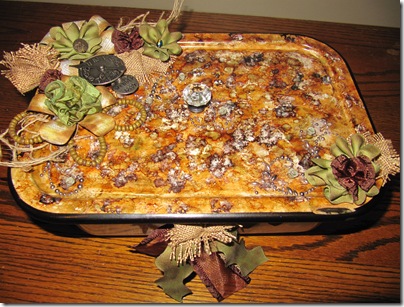
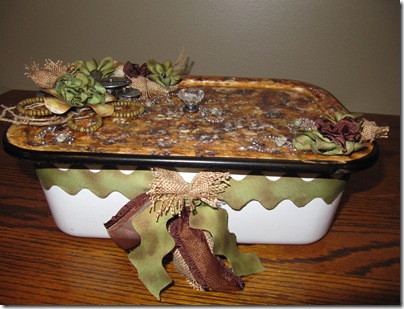
The last time I wrote I was finishing my project so I could head up to my friends cabin for a retreat.  Since I was already running late, I quickly threw some supplies into a container and left hours later than I had planned.  In my hurry to gather the supplies needed, I decided it was time to play around with some products I’d never used before.  You see, since I started the business – I have been “a bitNO, ALOT out of it” with the new products available.  So I threw in Tim Holtz’s Adirondack Alcohol Inks, an old enamel container, some ribbon, paper and a few other items I could grab quickly!

IMG_1492 

IMG_1491

I love going to my friend’s cabin.  We had a cabin about a mile away from there but sold it when life got too busy to spend enough time there to justify having one.  I feel sooo silly now because I didn’t even take one picture to show how beautiful it is up there.  My friend is like Snow White, all the animals love her (because she puts out food for the birds, raccoons, squirrels, etc.)  There is always lots of cute little birds, hummingbirds, Blue Jays, and other birds to watch.  The squirrels will come up right by you to see if you have anything for them.  There’s deer to see, a mother moose and twins, and other furry critters to watch.

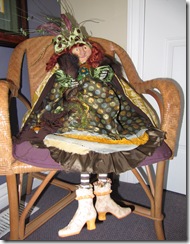
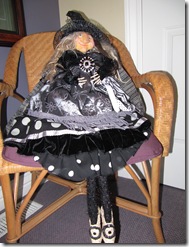
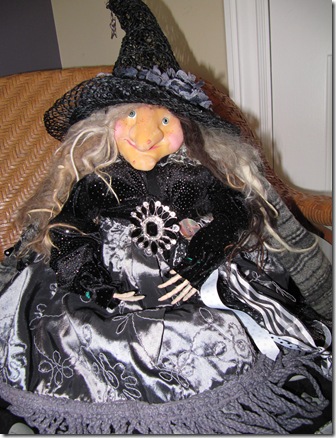
My friend invites several of us up every Labor Day to attend Swiss Days, where we shop till it’s too crowded to even see anything, or until we’re out of money, or we can’t carry anything else. I look for one vendor when I go who makes the most incredible “one of a kind” witches.  Her booth is called Nettie’s Gnomes.  I have so much “stuff” I’ve collected over the years,  I only want to buy “one of a kind” pieces of artwork anymore.  I am trying to get four of her pieces so I can give one to each son when they are married and I no longer want to decorate for Halloween.  I found two this year that I loved, so now I only have one more to buy (I bought my first one last year at Swiss Days).

IMG_1534 IMG_1536

IMG_1537

Aren’t they the cutest witches!  The detail she puts into them is amazing!

Ok, back to the real reason I started this post! 

This was my first try with several inks:

Attempt#1

IMG_1493

I practiced on the inside of the top so if I didn’t like it…This attempt was ok, but didn’t do anything for me so I cleaned it up and went  for a second try.

Attempt #2 – on top of the lid (feeling a little braver)IMG_1500IMG_1499

The top pictures are a better example of the true color, not the one below.

Tried some Prima flowers to see if that made it better…

IMG_1506

I liked it, but wasn’t quite what I wanted – cleaned it up again and gave it a third try…

Attempt #3 -You know what they say…the third time is the charm!

IMG_1509IMG_1507  IMG_1508

Finally…got the right combination that felt and looked right – I know, I’m a slow learner!  Really-I like options, so trying just one thing doesn’t usually work with me!  I took these pictures after I got home where I could get to my supplies, and was ready to put everything together!

I made  the paper and ribbon flowers up at the cabin, but knew I had some burlap ribbon and other fun things in my creative room, so opted to finish working on it when I got home.

IMG_1511

IMG_1522

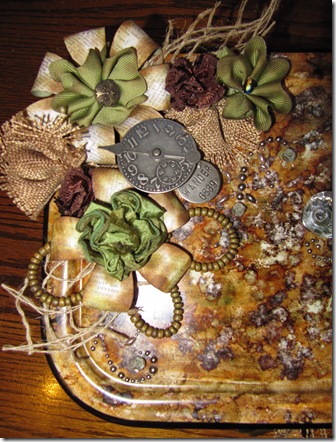
I love the different textures of the flowers, burlap ribbon, the twine, beads from an old necklace, metal and the paper.

IMG_1526 IMG_1530

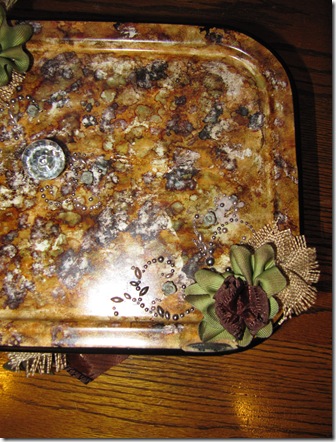
I drilled a hole in the top and used one of the Idea-ology Curio Knobs in the center to lift the lid with, (so not only practical, but cute!)

IMG_1539

I inked the paper and ribbon flowers to give it a more vintage look.

I wish you could see it in person.  Pictures never do projects justice.  You can never see the dimension and textures very well in pictures, so sorry!!!

I really needed some time away and it gave me the ok to relax so the creative side could come out!  Thanks Julie and the gang for a wonderful fun filled, eating, shopping, playing games, laughing till we cried week away from reality!

Renee
Products Used:

  • Ranger Distress Inks: Old paper, Vintage Photo, Peeled Paint
  • Ranger Adirondack Alcohol Inks: Lettuce, Cranberry, Slate,Expresso,Pitch Black, Butterscotch
  • Tim Holtz The IDEA-OLOGY: Timepieces, Philosophy Tags, Accoutrements Button, Game Spinners, Curio knobs
  • Tim Holtz Paper: Lost and Found
  • May Arts Ribbon: Green & Brown
  • Prima: Say it in Pearls
  • Renee’s Stash: Burlap ribbon, Netting,  Green beads(old necklace)
  • Glue Dots
Related Posts Plugin for WordPress, Blogger...