

Hello again! Natasha here with a Spring layout to help celebrate the beautiful weather we have been having lately. For this layout I used the 'Garden Party' Collection that was generously donated by My Little Shoebox. This layout is a little different from my normal style, but I adore this paper collection and my daughter was thrilled with the end result. :o)


For the title I used alphabet stickers made by My Little Shoebox and American Crafts. Around the title I added coordinating cardstock stickers that were embellished with a little Stickles and bling.

The cute little toadstools, the butterfly (see below) and the leaves are all chipboard elements made by The Dusty Attic.


All of the stitching on this layout was done by hand. The blue frame was made using a punch and I added stitching for greater definition. I created a vertical border on the photo using eyelets and added an embossed layer behind the photo.

Several different punches were used on this layout to create a variety of borders. The layers of the chipboard butterfly were split to create a 3D effect.
Aside from the adorable Garden Party paper line, I also received the 'We Are Family' Collection by Nikki Sivils.

I used these papers to decorate divider tabs for my daughter's Clip It Up Wall Mount.
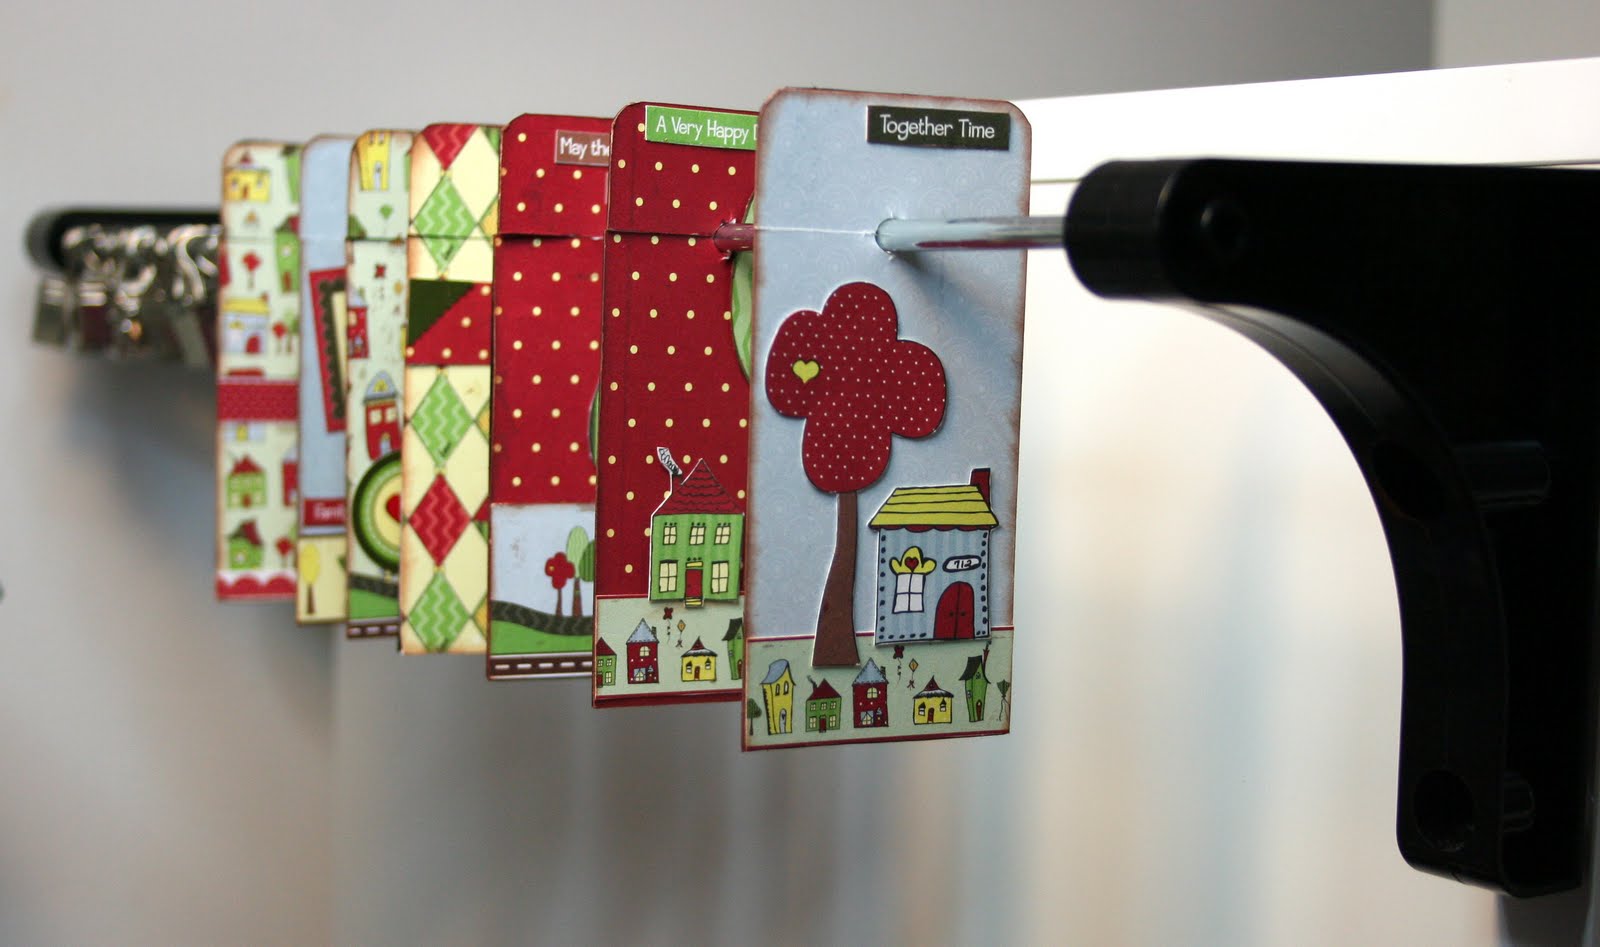
My 5-year-old is an aspiring artist/scrapbooker and creates numerous works of art for me on a daily basis. I installed the Wall Mount for her so that she would have a way to proudly display her artwork.
Before I go, I would like to show you a quick peek at how I organize my embossing folders. In the past I stored them in a box, but I would always forget which folders I have in my stash.


There are numerous uses for each of the different Clip It Up products. While you are doing your Spring cleaning, take a look around your home and take note of where you could use a Clip It Up to help you get organized.





 Posts

